Neutral Density Filters for Long Exposure Photographs
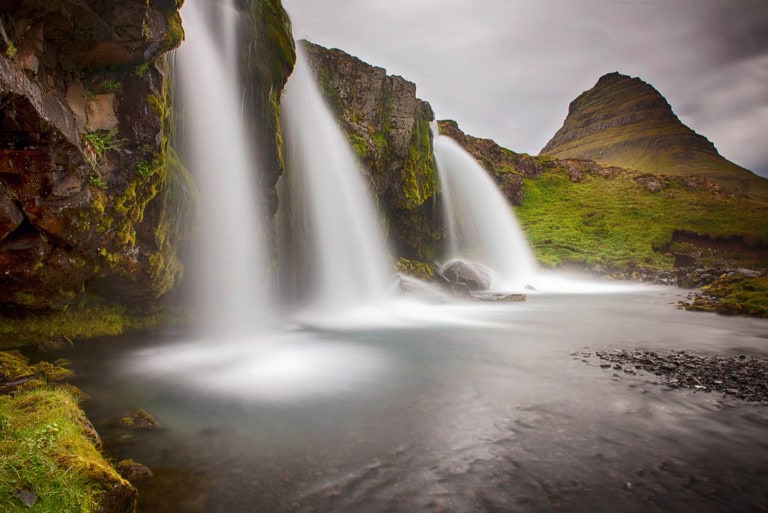
Have you ever seen photographs where the water just looks silky smooth or the clouds appear to blur in one direction? They look pretty magical right? The easiest way to achieve that look is with the use of neutral density filters. To get that magical look you will need to use neutral density filters for long exposure photographs to slow your shutter speed down or else your photos will be over exposed.
What Are Neutral Density Filters?
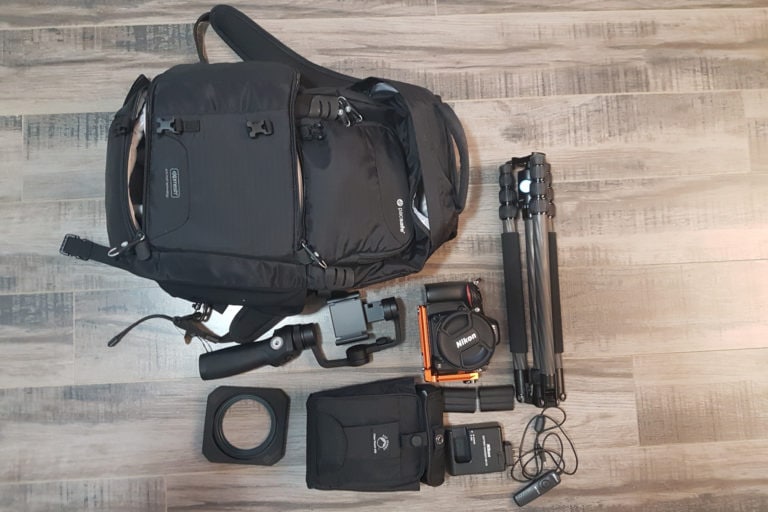
A neutral density filter is a piece of glass or plastic that goes in front of the lens to cut out the light by a certain amount. One way to get proper exposure again is to slow the shutter speed down. Remember though a slower shutter speed will cause blur and non sharp photos so having a decent tripod is mandatory. You might hear things like “3 stop or “6 stop”. I’m not going to confuse you with what a stop is. Just know that the higher the number of stops the darker the neutral density filter will be. A simple way to think of this is an ND filter is kind of like sunglasses for your camera.
What Strength of Neutral Density Filters for Long Exposure Photographs?
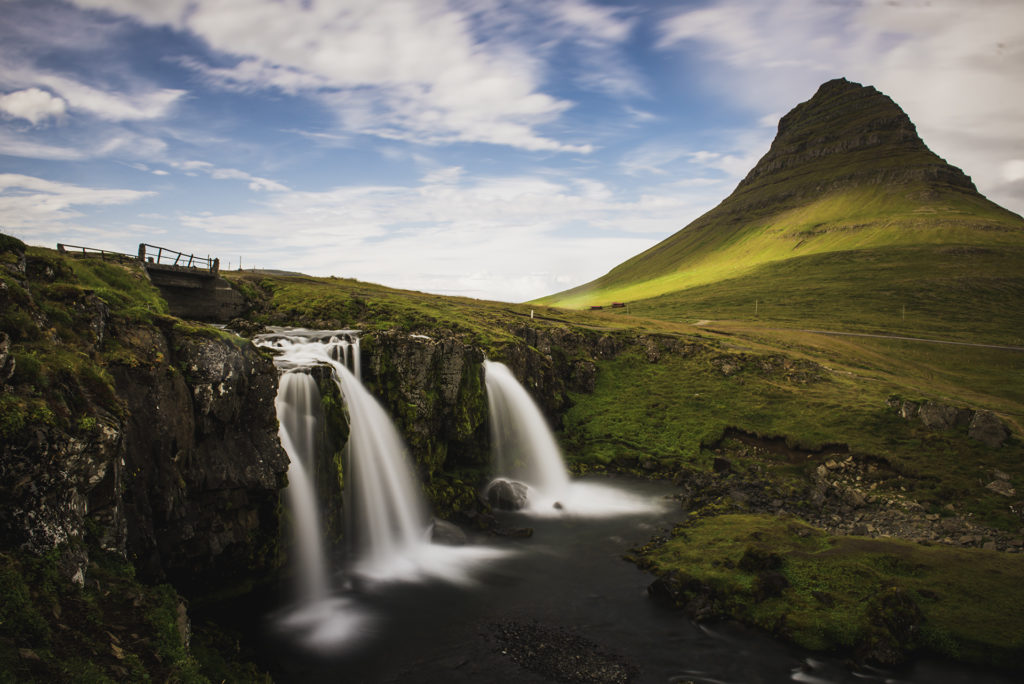
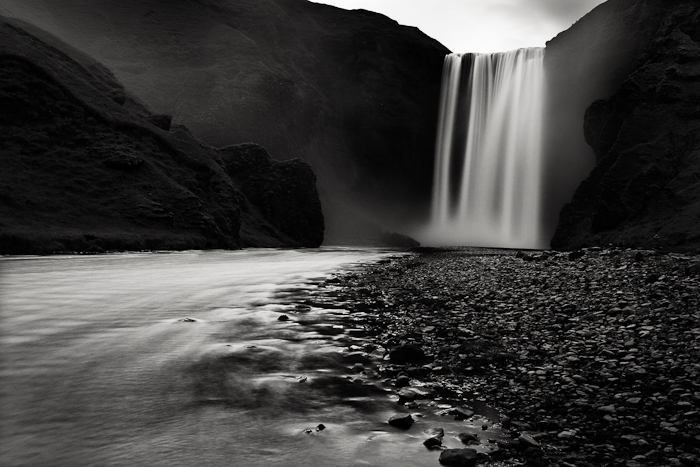
Neutral density filters are mostly used in landscape photographs. They will add a sense of movement to your photographs by blurring the moving elements in your composition while everything else should remain sharp. The amount of blur will depend on the strength of the neutral density filter you use. The stronger the filter, the longer the shutter speed will need to be set to get proper exposure.
If you want your photos to have that ethereal feel then you’ll need a stronger ND filter to get the longer shutter speeds. A cool look with photographs that feature water is getting the shutter speed to around 1 or 2 seconds so that the water will still have movement lines instead of being a silky smooth blur. It will give a better sense of movement in your photograph. To get a 1 or 2 second exposure usually you would use anywhere between a 1 or 2 stop filter all the way to a 3 or 6 stop filter in bright sunlight conditions.
How to Use Neutral Density Filters for Long Exposure Photographs
Now that we know what a neutral density filter is, how do you use it? If you perfectly expose your photograph and then add a neutral density filter, you will find that it is now underexposed. You can either change the ISO, the aperture or the shutter speed to get the exposure right again. When using neutral density filters for long exposure photographs you will be adjusting the shutter speed and slowing it down.
One way to do this is to just try a random slower shutter speed and hope for the best. When you’re using a darker neutral density filter, such as a 10 stop ND filter, it’s not uncommon for your shutter speed to be close to a minute. That’s a lot of wasted time if you mess it up. I don’t have my stops memorized so I use an app on my phone to tell me. I enter the settings to perfectly expose my photograph, then tell the app what ND filter I’m using and it will tell me the shutter speed to use. Then you set your shutter speed in the camera and take the photograph. It’s that simple.
To make it simple your work flow will look like this:
- Find something worth photographing with movement, ie clouds, cars passing by or running water
- Set up camera on tripod and compose your shot
- Expose your shot
- Input camera settings into app to get the shutter speed required with the selected ND filter
- Add neutral density filter
- Change shutter speed to what the app tells you
- Cover your viewfinder to avoid light leaks (I usually use a hat hung over my viewfinder)
- Take your photo
That’s it guys. It’s that simple to use neutral density filters for long exposure photographs. Hopefully you guys can use the filters to take your photography to the next level. Let me know your experiences in the comments below.