How to Use a Square Filter System to Take Long Exposure Landscape Photographs
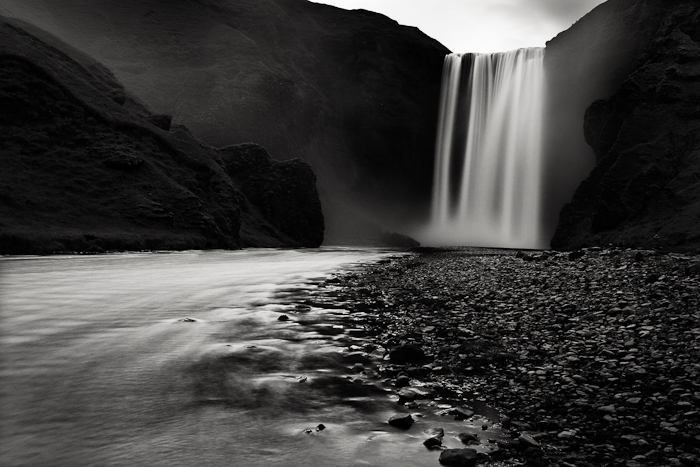
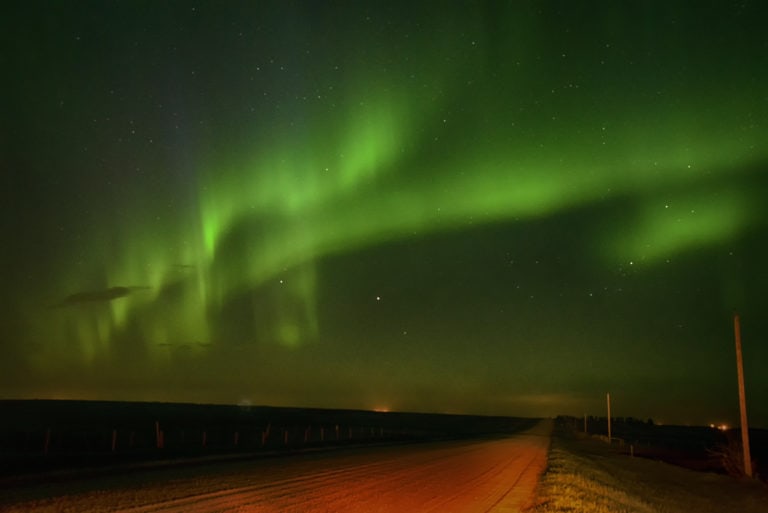
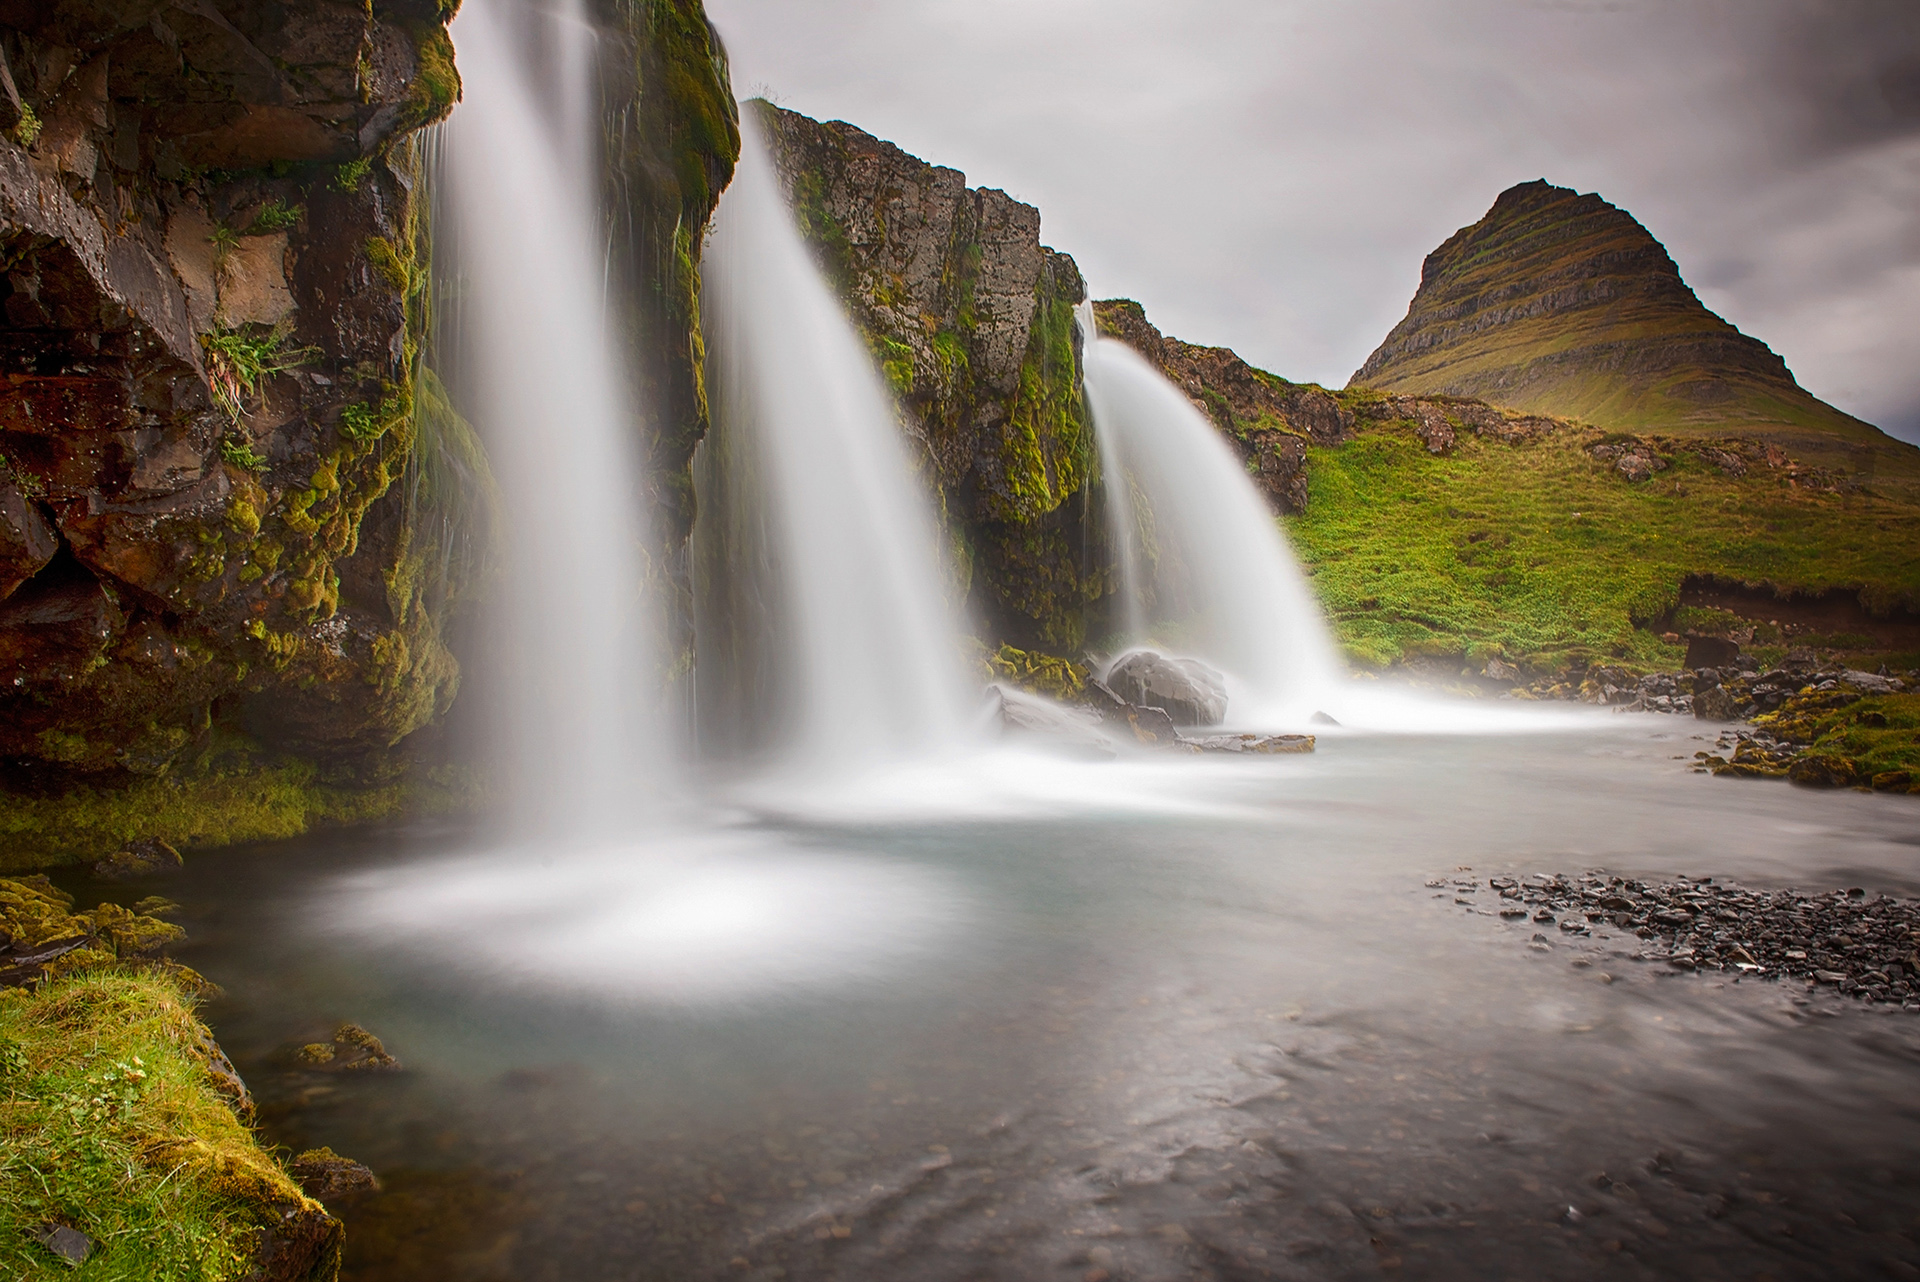
Have you ever seen photographs of waterfalls where the water is silky smooth? Maybe you’ve seen photographs of light trails in the night and wanted to achieve similar results for yourself. If you have a basic understanding of how to operate your camera, then the following instructions will teach you how to manipulate the shutter speed to allow you to take long exposure landscape photographs.
Difficulty level: Advanced Beginner
Prerequisite skill: Basic understanding of how to operate your camera
Time to complete: 10 minutes not including time to reach location to photograph
Equipment:
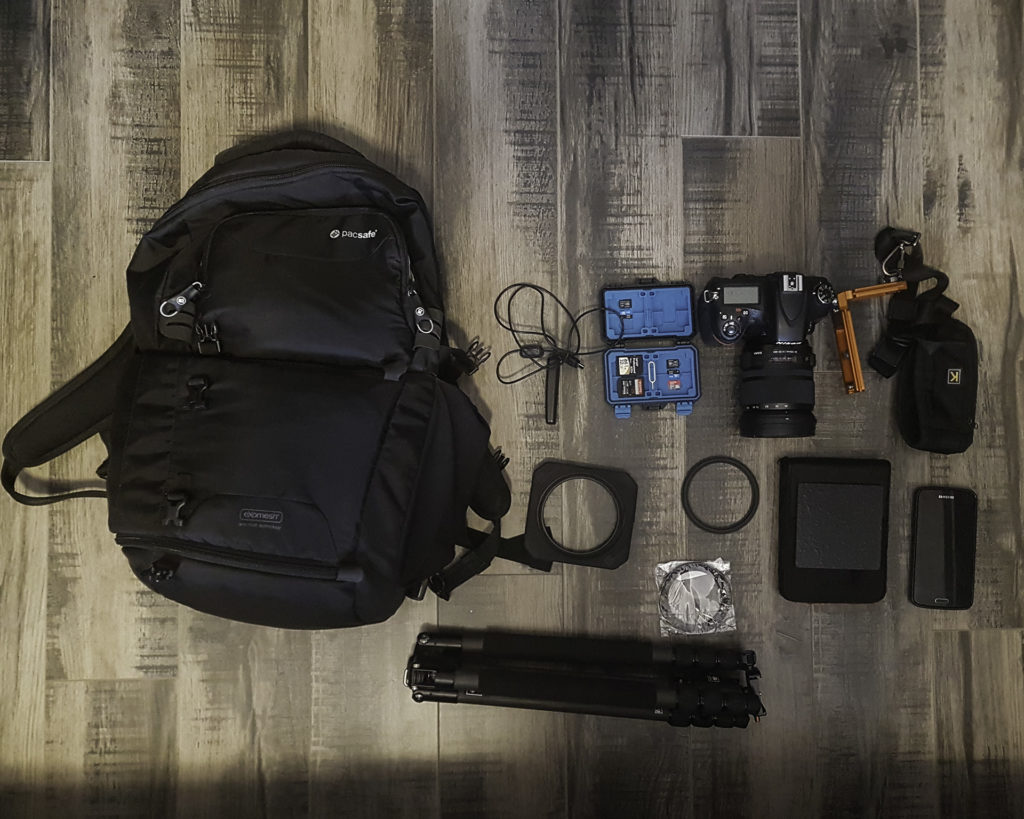
Note: Charged DSLR battery and black tape not shown in figure 2
- DSLR camera with lens of choice attached
- Tripod with ball head
- Remote shutter release
- L-bracket
- Fresh memory card
- Charged DSLR batteries
- Camera bag
- Cell phone
- NiSi filter exposure calculator app
- Black tape
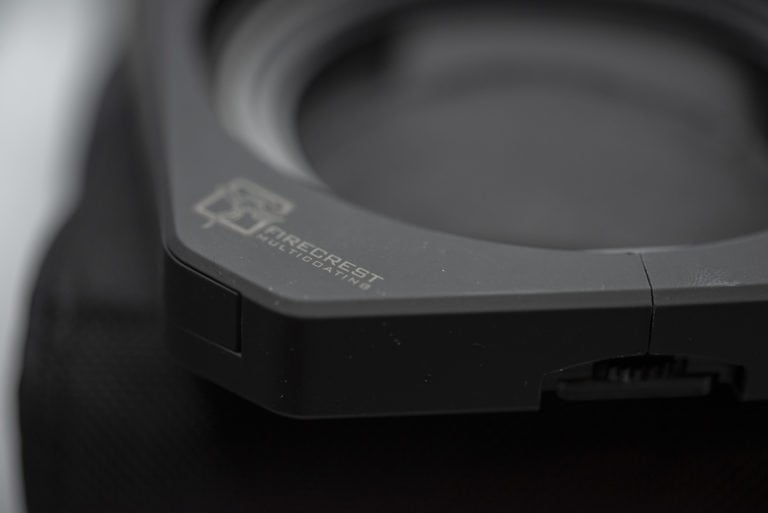
- Square ND filter holder
- Filter adapter ring
- Filter holder ring
- Square ND filter of choice
Note: The higher the stop number, the more light the filter will cut out. This allows your shutter to stay open for longer. A 6 stop is a perfect ND filter strength for beginners and what we will be using for this set of instructions.
Procedure:
Step 1: Preparing camera to mount to tripod.
Attach L-Bracket to your DSLR by screwing in the ¼“20 screw into the hole at the bottom of your camera. The L-Bracket will allow you to mount the camera to the tripod in both portrait and landscape orientation without having to adjust the ball head.
Note: Ensure that the screw is tight enough so that the L-bracket does not shift or move.
Step 2: Determining the correct filter adapter ring.
Examine the lens you will be using. On the bottom of the lens you will find the following symbol: ø. This is the geometric symbol for diameter, it is the number beside the symbol that is most important and must be noted.
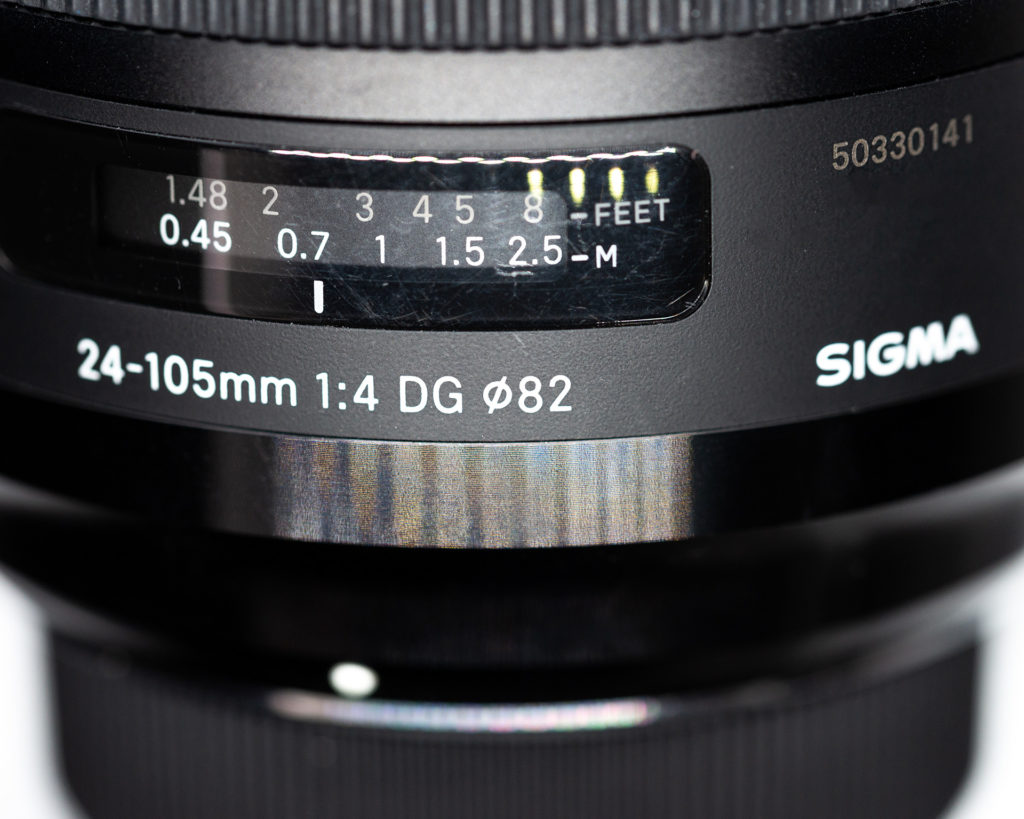
Note: This is a standard that all camera manufacturers abide by. If you have a Canon lens, a Nikon lens, or any of the third-party lenses, they will all have this information etched onto it somewhere.
Step 3: Preparing camera to attach filter holder.
Attach the correct filter adapter ring after you have determined the lens diameter. After you have attached the filter adapter ring to the lens, attach the filter holder ring to the adapter ring. This will allow you to mount the filter holder to the lens securely.
Note: Most square filter systems will come with a few different adapter rings for different lenses. If your filter system did not come with the one you need, you will need to determine the diameter of your filter system as well as the diameter for the lens you will be using and purchase the correct adapter ring
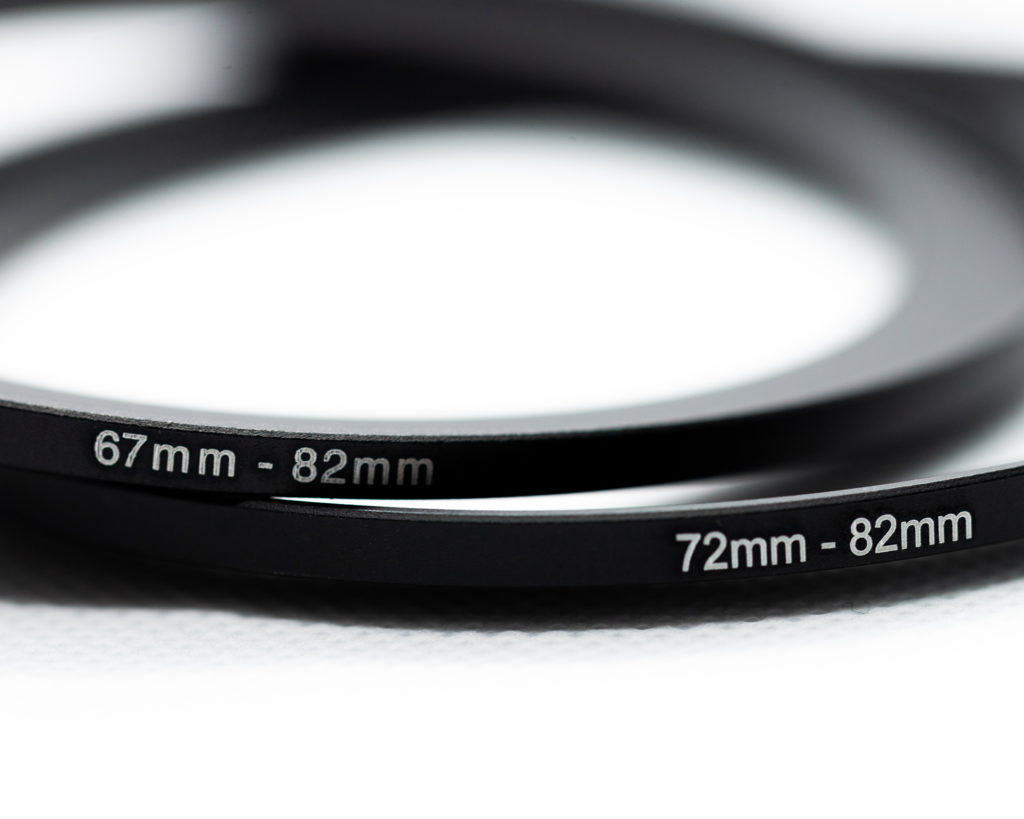
I.e.) The filter system has a diameter of 82mm and the lens you will be using has a diameter of 72mm, you will use a 72mm to 82mm filter adapter ring.
Step 4: Packing up.
Pack up all your gear into your camera bag and head out of your house. Ensure you have a fresh battery in your DSLR and a memory card inserted.
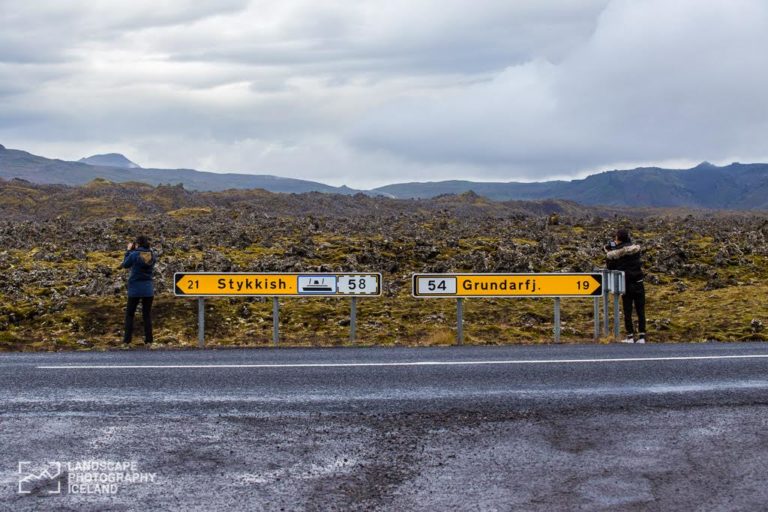
Step 5: Location, location, location.
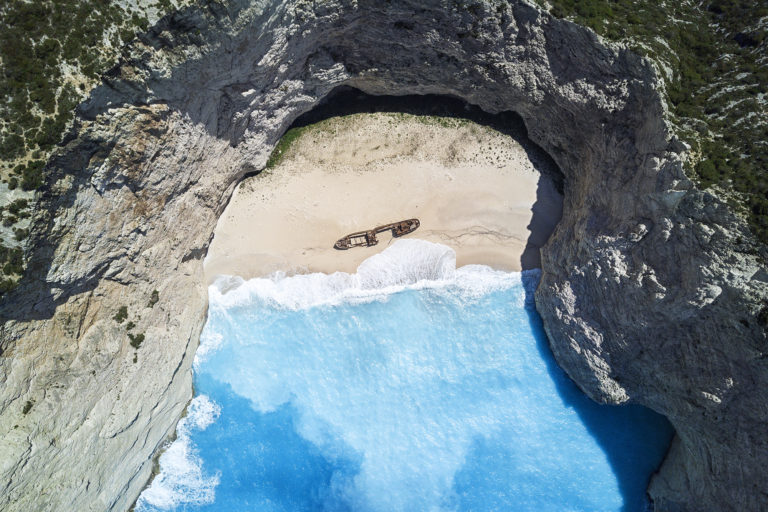
Pick a location you wish to photograph. For an effective long exposure photograph you will need to put some thought into your composition. For a more compelling photograph, try to find moving elements with stationary elements. Clouds moving over your favourite building, lights of cars passing by a downtown intersection, or the classic waterfall scene are all great examples of when long exposure photography will provide stunning photographs.
Step 6: Setting
up.
Begin setting up once you have found your location you wish to photograph. Extend your tripod legs to the desired height and attach your camera to the tripod ball head using the L-bracket.
Step 7: Taking a test shot.
Frame up the shot you want through the viewfinder. Turn your command dial to aperture priority mode and set your aperture to F11. Set your ISO to 100. Use the camera autofocus to focus on a subject that is 2/3 of the way between your foreground and background. Make note of the shutter speed that your camera sets, this will be essential in the next step. Take a test shot, it should be exposed properly since the camera is selecting the remaining settings for you automatically.
Note: After you take your test shot it is essential that you do not move the camera after. If you do, you will need to repeat this step.
Step 8: Determining the correct shutter speed.
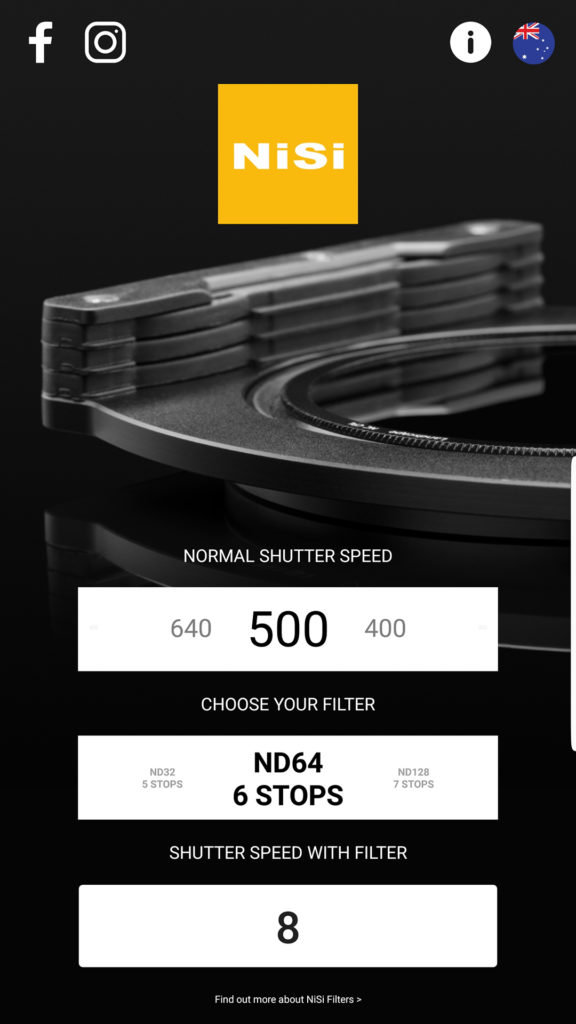
Open the NiSi app on your phone. In the first box, enter the shutter speed that your camera told you to use in the previous step. In the middle box is where you enter the ND filter strength you are using, in this case we are using a 6-stop filter. The third box is the app calculating the new shutter speed you must enter into your camera.
Step 9: Inputting the proper settings into your camera.
Turn your command dial to full manual mode. Ensure your ISO is still 100 and that your aperture is still F11. Enter the shutter speed that the app has calculated. Refocus the camera to the same point you used for step 7. Once proper focus is achieved, switch the autofocus on the lens off. This will prevent the camera from automatically refocusing on something undesirable.
Note: The camera will only allow the shutter speed to reach a maximum of 30 seconds. If the app tells you longer than 30 seconds, you must set camera to bulb mode.
Step 10: Attach the filter and remote shutter
Insert square ND filter of choice into filter holder and attach to camera via the filter holder ring already attached to lens. Insert the remote shutter into the proper port on the side of the camera.
Caution: ND filters scratch very easily, handle filters with care.
Step 11: Take picture.
Cover the view finder with black tape. Using the remote shutter release, take the photo. Using the remote shutter release will avoid unwanted camera shake introduced by your hand pressing the shutter button on the camera.
Note: If using bulb mode, you must hold the shutter down for the specified amount of time. Release shutter button after specified time is reached.
Step 12: Review photo.
Ensure that the photo is what you want. Zoom in on the photo and inspect for focus issues or problems with the exposure.
Note: It is good practice to take a few photos just in case one is not satisfactory. Different things can change between photographs such as cloud movement, people blocking your photograph, or water splashing on your lens. More than one photograph will act as insurance in case that happens.
Troubleshooting.
If the photo has come out too dark, increase the shutter speed to lengthen the amount of time the shutter stays open which allows the camera sensor to collect more light.
Did the photo come out too bright? decrease the shutter speed to decrease the amount of light the camera sensor collects.
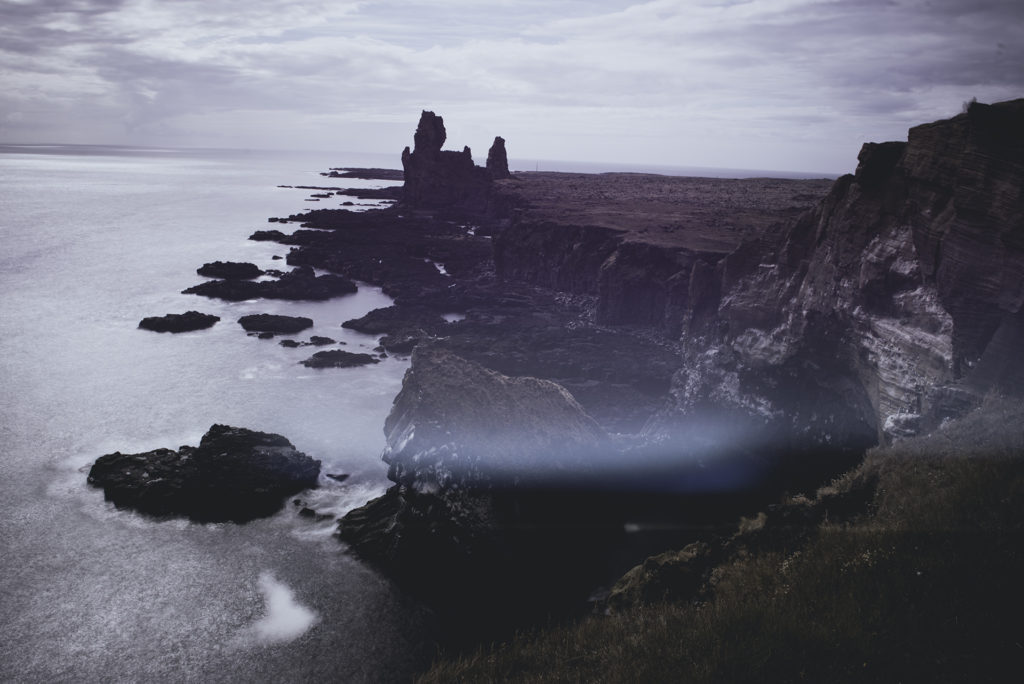
If a band of light is appearing in your photograph, the view finder is not covered adequately. The band of light is a tell-tale sign that light leak is occurring. Put another piece of black tape across the view finder and take another long exposure photograph.
You now have the basic skills needed to take long exposure landscape photographs using a square filter system. The more long exposure landscape photographs you take, the easier it will be to spot what will work and what won’t for your next composition. Although this process may involve a lot of effort, nothing can mimic the effects of long exposure photography. Enjoy your creative new long exposure landscape photographs! If you want to read more about filters, you can check out my post to help you decide between square or screw in filters.