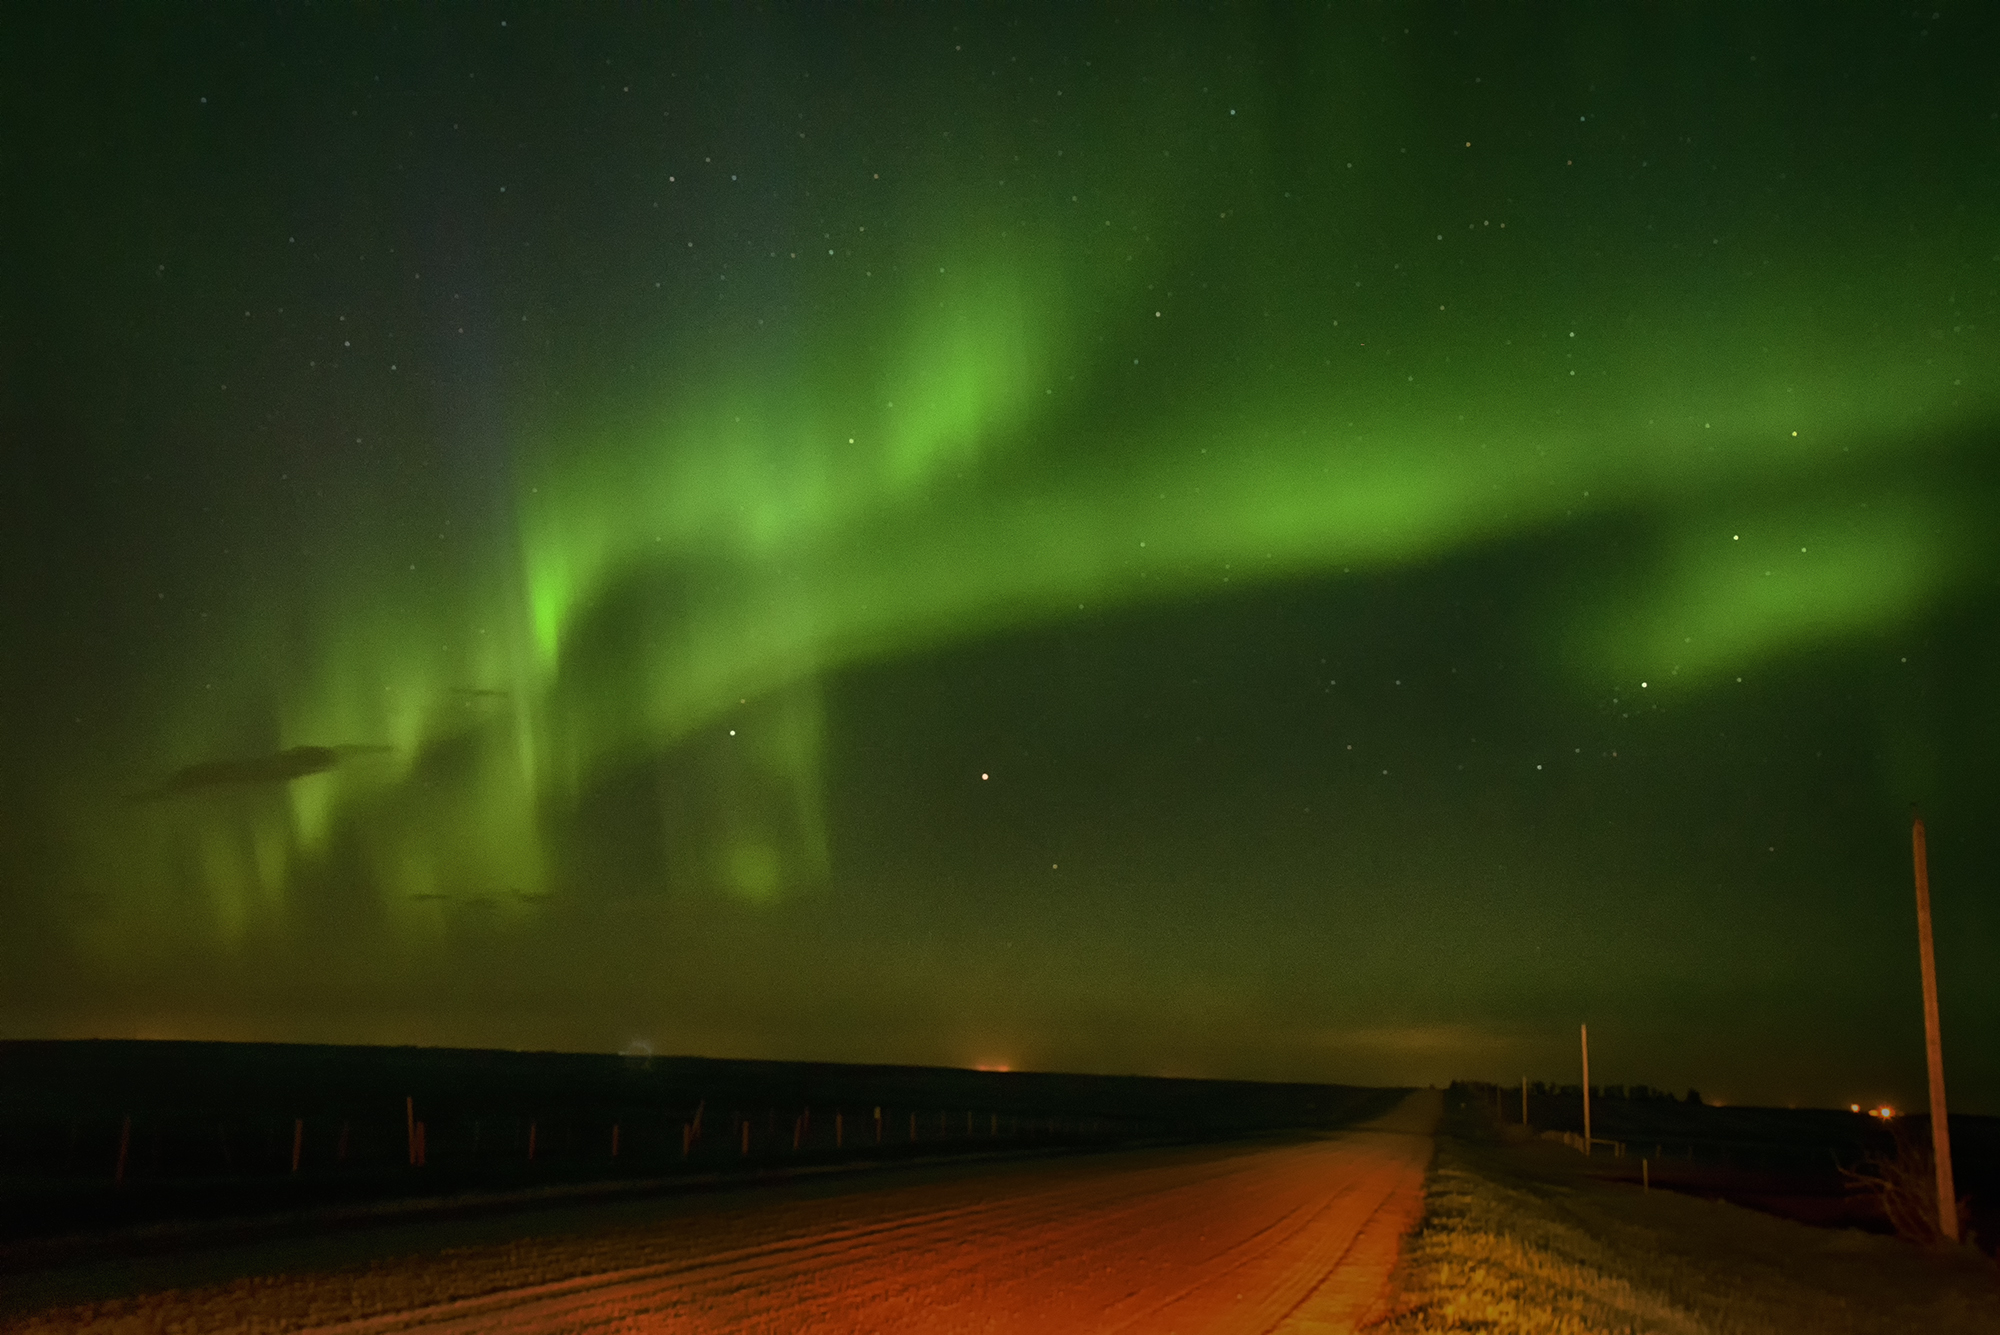
Have you ever witnessed something as cool as the aurora, or more commonly known as the northern lights? I’ve never purposely sought it out, let alone set off to photograph the aurora without any previous experience. It doesn’t happen every night so you need to check forums or use an app to tell you when it is. I fiddled with my camera gear in the dark and I’m going to share what I learned so you can skip that and proceed to getting great photos.
Quick Nav
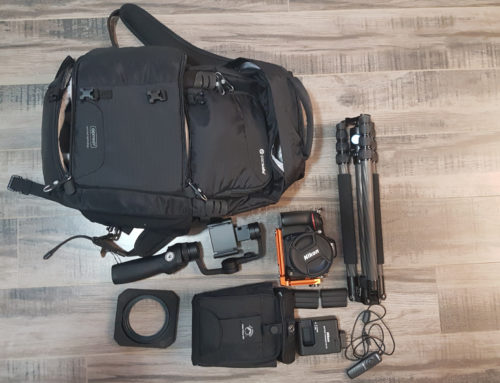
Things you need to photograph the aurora
- DSLR or other camera with manual controls
- As wide a lens as you have
- Tripod
- Flashlight
- A plan to stay safe
Focusing
When I say focusing I mean with your camera, not concentrating. I took 150 photos that night and the majority of them were blurry because it’s almost impossible to focus in the dark. Looking back on it now these are two things I could have done differently to save time and effort.
The first is to focus on a far off object and then put a piece of tape on the lens focus ring. Obviously you’re going to be doing this in sunlight before you head out to photograph the aurora. Putting tape on it ensures that the focus is locked and won’t move. This way when it’s dark and you’re set up you can just start taking photos.
The second requires a flashlight. If you forgot to do the method above, bring a flashlight with you before you head out. Set your camera on the tripod, shine the light into the distance and focus on something being illuminated.
DSLR Camera Settings for Maximum Aurora Photographic Goodness
The first thing you need to understand is to photograph the aurora, you need to let in as much light into your camera as possible. You do that by adjusting the shutter speed, the aperture, and the ISO.
I’ll start with aperture because it’s the easiest. Set your aperture to the widest it will go. If your lens goes to f2.8, set it to 2.8. If it only goes to f4, set it to f4.
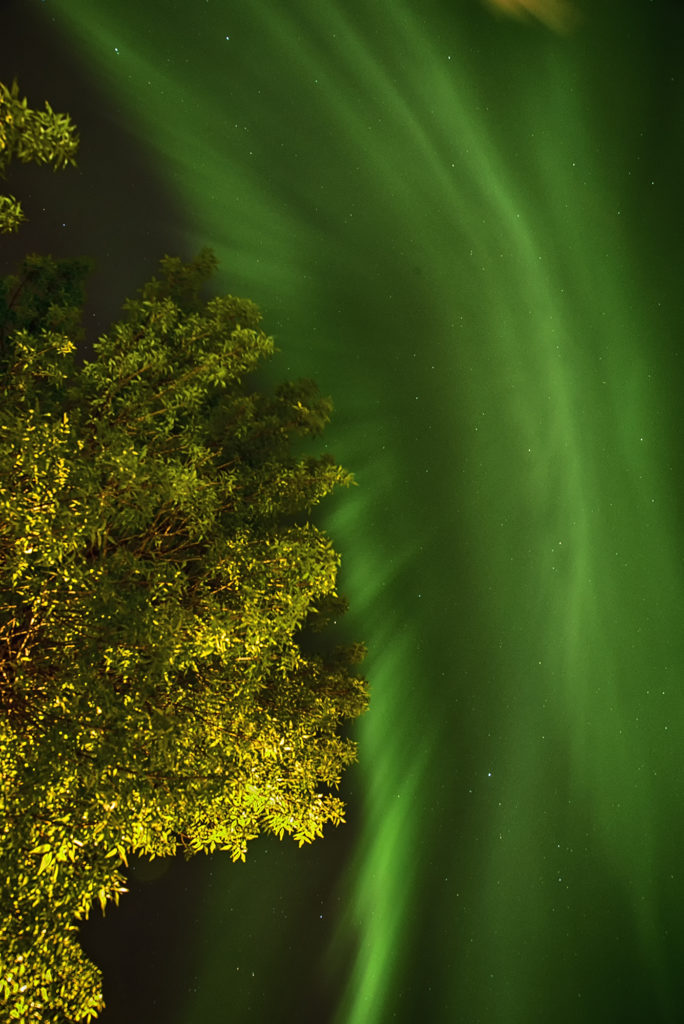
The next two things you change are a bit trickier. Shutter speed should be the next thing you adjust. The aurora is a moving light show. If you set your shutter speed too long it’ll appear as a big blob on your photo. A good rule of thumb is to set it between 2-10 seconds. This is where the tripod comes in, if you don’t use one your photos will be blurry.
Lastly is ISO, with the other two options already set this one should be easy right? Too high of an ISO and your photo will look grainy. Luckily modern DSLRs are great up to high ISO now. I start at ISO 1600 and take a test photo. If it’s too dark, I’ll turn the ISO up.
Staying safe while taking photos of the aurora
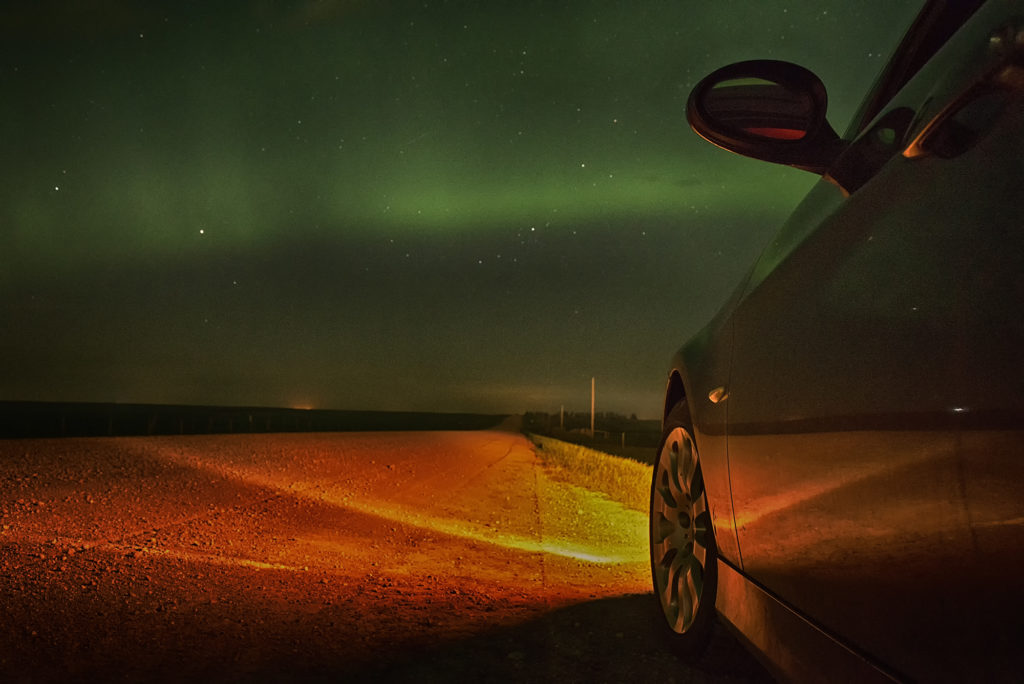
To photograph the aurora you need a dark sky. That means being away from light pollution in cities and towns, often being out in the countryside. What could go wrong right? The first thing you can do is bring company with you, enjoy the experience with a friend.
I couldn’t find a friend so I tried to minimize the risk of my solo adventure. I pinned my location on my maps app and sent it to a friend. Doing that at least ensures someone knows where I last was if I do go missing. Let them know that you’re safe and heading home when you’re finished so they’re not worried.
Lastly I kept my keys in my pocket and left my driver door unlocked in case I had to run back to my car. When your adrenaline is running and your scared, your reaction time is going to decrease. The last thing I wanted to do is fidget with my keys trying to unlock the car.
Hopefully this saved you from fidgeting in the dark with your camera like I did. If you follow these steps I guarantee you’ll photograph the aurora like a pro in no time. Share your crazy experiences trying to photograph the aurora in the comments below.

Leave A Comment